
Friday, 16 January, 2026г.


Где искать: по сайтам Запорожской области, статьи, видео ролики
пример: покупка автомобиля в Запорожье
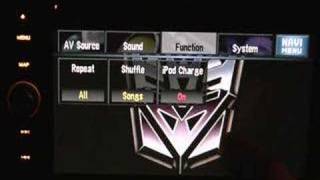
Pioneer AVIC-D3 Demo
 У вашего броузера проблема в совместимости с HTML5
A demo of the AVIC-D3 in a 350Z
Steps on how to change the background:
1 Insert a CD-R (-RW) to the disc loading slot.
2 Touch "Settings" in the NAVI MENU, then touch "System Options".
3 Touch "Background Picture Setting".
The picture selected for each screen is indicated on the right side of "Splash Screen", "Navigation Background" and "AV Back- ground" items.
4 Touch "Splash Screen", "Navigation Background" or "AV Background".
5 Touch "Import from Disc".
The list of the pictures stored in the CD-R (-RW) is displayed.
On this screen, you can select the following item:
"Back to Original":
The picture originally used when the system was purchased is selected.
Only when a Pioneer DVD Map Disc is inserted, you can select "Back to Original". Only when the CD-R/-RW and DVD-R/ -RW is inserted, you can select "Import from Disc".
In step 5, touching other than"Import from Disc" allows you to select a back- ground image stored on the Pioneer DVD Map Disc.
6 Touch a picture you want for the back- ground.
7 Select how to display the picture.
You can select the following items:
"Center":
Selected picture is displayed at the center of the screen.
"Repeat":
Selected picture is repeated in a pattern to cover the whole screen.
The background image starts changing. After a short while, the new background image appears.
When you select images stored on the Pioneer DVD Map Disc, you cannot select the
layout method. When the picture starts to change, do not turn off the vehicle engine until the mes- sage appears to indicate that the picture has finished changing.
8 Touch "Done".
Похожие видео


Мой аккаунт