
Thursday, 15 January, 2026г.


Где искать: по сайтам Запорожской области, статьи, видео ролики
пример: покупка автомобиля в Запорожье
iBaby Monitor M2 Setup Instructions for Android
 У вашего броузера проблема в совместимости с HTML5
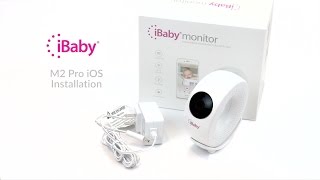
iBaby Monitor M2 Setup Instructions for Android
To purchase iBaby Monitor M2:
https://ibabylabs.com/ibaby-monitor-m2
Congratulations on your iBaby Monitor M2 purchase! Before you get started, make sure your phone is connected to Wi-Fi.
To do so, open Settings and click on Wi-Fi. Choose your network and type in the password. Next, download iBaby View app from Google Play.
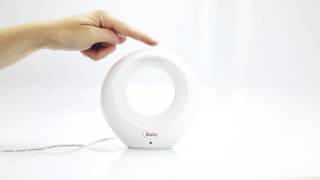
Plug in the power adaptor. Open the back panel on the monitor and press the power button. Wait for two beeping sounds, which might take about a minute. The LED light in the back will start blinking.
Launch iBaby View app on your phone. Click on ‘Create an account’. Input your email address, create a password and click on ‘Register’. Scroll down to continue.
Click in the center to add a camera. Connect the monitor and your phone with the USB cable. Choose M2 from the list of camera models and click ‘Done’. On the next screen, click on ‘Set up’.
Next, click ‘OK’ on pop-up window to allow the app to access the monitor.
The app will automatically pick up your phone’s Wi-Fi network. Type in the password and click ‘Allow’. Wait for the monitor to connect. The app will prompt you to unplug the USB cable when the connection is complete.
When the monitor is set up, the app will give you a short tutorial. The monitor is now ready to be used.
Enjoy being a parent with iBaby Monitor M2!
iBaby Customer Support:
+1 650-396-2436
[email protected]
Теги:
iBaby iBaby M2 iBaby Monitor M2 iBaby setup iBaby M2 setup iBaby Monitor M2 setup iBaby Android iBaby Android setup iBaby M2 Android setup iBaby Monitor M2 Android setup
Похожие видео


Мой аккаунт