
Tuesday, 13 January, 2026г.


Где искать: по сайтам Запорожской области, статьи, видео ролики
пример: покупка автомобиля в Запорожье
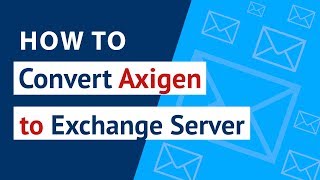
How to Migrate Axigen to Exchange Server ? | Axigen Webmail Backup Tool for Axigen Email Backup
 У вашего броузера проблема в совместимости с HTML5
Learn how to migrate Axigen to Exchange Server without any problem. Here, in this video, we have given a complete step by step solution to convert Axigen Webmail to Exchange. The manual method for Axigen email backup is not practically easy. So, we suggest you choose a very easy-to-use Axigen Webmail converter. Not only this, we have managed to solve many other users queries too.
How to convert Axigen to Exchange along with email attachments ?
Can I migrate Axigen mail to Exchange Server on my system having Windows 8 ?
How to do Axigen Exchange migration in the fastest possible way without losing any bit of data ?
How do I take Axigen email backup of multiple files together ?
The Axigen to Exchange Backup Tool is the best-suited solution that perfectly solves the above queries. You can migrate Axigen Webmail directly by following a few simple steps.
1. Firstly, download the Axigen Exchange migration software from the given link:
https://emailbackupwizard.com/
2. Now, choose Axigen from the given list of Email Source.
3. Enter the login credentials of your Axigen Webmail account. Now, click on Login to connect.
4. Choose the email files or folders for Axigen to Exchange server migration.
5. From the list of file saving options, choose Exchange Server here.
6. After choosing all the required options and destination path, click on the Backup button.
So, in just a few quick steps, you can convert Axigen to Exchange. We hope, we have cleared all your doubts to migrate Axigen to Exchange Server. To watch more related videos, please like, share and subscribe to our channel.
Watch our latest videos:
1. Export Lotus Notes to Excel: https://youtu.be/61ytik1am4M
2. Export Lotus Notes to MSG: https://youtu.be/kOcSa380Z5Q
3. Convert Visio to SVG: https://youtu.be/X8uqu12Bq0o
#AxigenToExchange #AxigenWebmailToExchange #MigrateAxigenToExchangeServer
Теги:
axigen to exchange migrate axigen to exchange axigen exchange migration convert axigen to exchange axigen to exchange server axigen to exchange converter axigen webmail axigen email backup axigen webmail converter axigen to exchange backup tool axigen exchange server migrate axigen convert axigen webmail axigen to exchange migration
Похожие видео


Мой аккаунт