

Где искать: по сайтам Запорожской области, статьи, видео ролики
пример: покупка автомобиля в Запорожье
Raspberry Pi Pico Tutorial 2 | PWM and Servo Motor | MicroPython | VS Code | pico-go extension
Get 30 days free trial Altium Designer - https://www.altium.com/yt/robocircuits
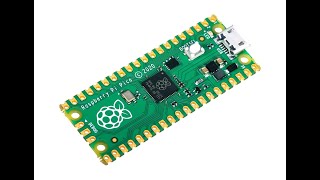
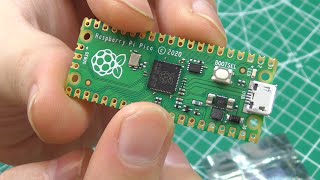
Raspberry Pi Pico tutorial using micropython and visual studio code (vs code) with MicroPython by installing pico-go extension.
Previous Video - https://youtu.be/QaiO6vtZQgA
Code and Schematics -
Control LED brightness with PWM
Pulse width modulation, allows you to give analog behaviors to digital devices, such as LEDs. This means that rather than an LED being simply on or off, you can control its brightness.
The frequency (pwm.freq) tells Raspberry Pi Pico how often to switch the power between on and off for the LED.
The duty cycle tells the LED for how long it should be on each time. For Raspberry Pi Pico in MicroPython, this can range from 0 to 65025. 65025 would be 100% of the time, so the LED would stay bright. A value of around 32512 would indicate that it should be on for half the time.
Have a play with the pwm.freq() values and the pwm.duty_u16 values, as well as the length of time for the sleep, to get a feel for how you can adjust the brightness and pace of the pulsing LED.
Controlling Servo Motors such as 9g Micro Servo is fun with PWM signals from the RP2040 microcontroller mounted on the raspberry pi pico board.
Social Links
Facebook - https://fb.com/robocircuits
Instagram - https://instagram.com/robocircuits
Twitter - https://twitter.com/robocircuits
Instructables - https://www.instructables.com/member/PrashantS161/
Arduino CC - https://create.arduino.cc/projecthub/robocircuits


 У вашего броузера проблема в совместимости с HTML5